Five DIY Jewelry Ideas You’ll Actually Love

Worthy Staff

By Worthy Staff | Dec 18th, 2017

When you think of DIY jewelry, images of clunky clay beads and shabby-looking earrings may come to mind. But with a few tools and some special findings that are easily obtained from your favorite craft store, you can easily make DIY jewelry that’s worth showing off.

DIY Charm Bracelet

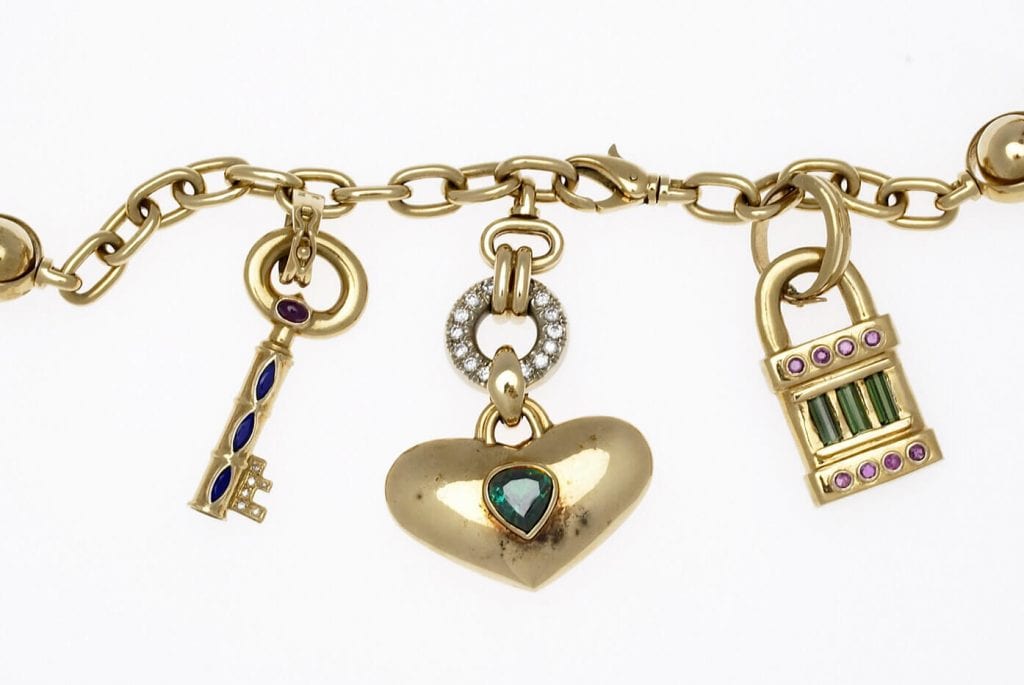
Charm bracelets are easily at the top of our list of the best DIY jewelry ideas ever! Create a look that’s all your own by selecting a charm bracelet and then adding charms – fancy designer ones are nice, and you can of course make your own using trendy findings from a well-stocked craft store. Charm bracelets are fun to wear, and they make fantastic themed gifts for girls and women of all ages.

diy-jewelry-charm-bracelet

Vintage Fork or Spoon Ring

Vintage silver cutlery can easily be transformed into a stylish fork or spoon ring that fits your finger perfectly. There are lots of images online to serve as inspiration!

Here’s how to do it:

  1. Measure your finger or thumb, and account for any overlap you’d like to build into your design.
  2. Obtain a fork or spoon in a pattern that appeals to you.
  3. Measure the cutlery and carefully use a hacksaw or metal cutter to cut it.
  4. File the cut end with coarse sandpaper, and gradually work your way down to a finer grit until no sharp edges remain. You’ll know that you’re finished when the cut end looks and feels smooth.
  5. Obtain a dowel or a ring mandrel for shaping the end of the cutlery into a ring. This task will be easier to accomplish if you heat the metal first with a butane torch; just be very careful not to burn yourself. Use a pair of pliers for better results. If you find that you need to be more forceful, you can use a hammer with its head wrapped in a towel to prevent scratching.
  6. Keep working on bending the ring until its shape and size is pleasing to you. Buff it with a cloth if you’d like a shiny look, and then enjoy wearing it for years to come.
Photo courtesy: Kirsten Danielle Design

DIY Photo Locket

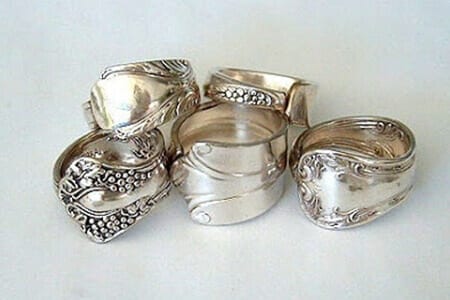
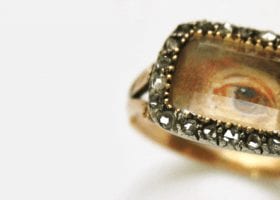
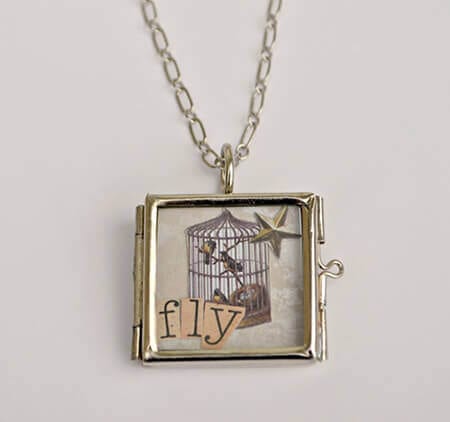
Photo lockets make fantastic gifts, and they’re a fun way to keep your favorite images of loved ones or pets close to your heart. All you need is a glass locket in your choice of shapes, and a photo you don’t mind cutting (have a favorite photo copied if you don’t want to deface it!). Carefully trim the photo to fit into the locket, and fasten it in place with a glue dot, if you like. Obtain a clasp and chain to match the locket, and enjoy showing off your new necklace!

Pro DIY jewelry making tip: This idea works well for bracelets, too; you can easily link lockets together to create an entire gallery of images to wear on your wrist, or you can use lockets as photo charms for existing charm bracelets.

Photo courtesy: One Artsy Mama

Hand-Stamped Jewelry

Thanks to specialized tools, DIY jewelry making is easier than ever. You’ll need a special kit to make hand-stamped jewelry, but once you’ve got all the letters and shapes you want, you can enjoy years of making items for yourself and for gift-giving.

  1. Purchase a metal stamping kit online or at a craft store. Do some shopping, because there are different fonts and designs from which to choose!
  2. Obtain findings, usually found near the metal stamping kits themselves. Some kits contain blanks to help get you started: These might or might not be pre-punched with holes for jump rings.
  3. With a piece of painter’s tape, attach your tag to a steel block (there should be one in the kit you buy). The tape holds the metal blank in place, plus you can use it to ensure that your lettering comes out straight.
  4. Place the block on a firm surface such as a tabletop.
  5. Position the stamp on the blank and use the hammer to firmly tap it. Use plenty of strength and give it just one solid smack. If you hit the stamp more than once, you may not get a crisp image.
  6. Repeat step 5 for each letter, then add jump rings and a matching chain with a clasp. You can use hand-stamped jewelry tags on necklaces, and they make fantastic additions to charm bracelets, too.

Pearl Earrings

Believe it or not, you can buy real freshwater pearls (or convincing-looking fakes) and craft them into DIY pearl earrings. While it’s possible to make a wide variety of styles, this quick tutorial is a very simple, basic guide to getting started. You’ll need a few simple items for this project: Leverback earring clasps or earwires, plus jump rings and head pins in a size to fit the pearls that you’ve chosen.

  1. Thread the pearls onto the head pins.
  2. Make loops in the ends of the head pins, and then use wire cutters to trim any excess.
  3. Attach the jump rings to the loops, and then attach your earring clasps or wires.
  4. Show off your handmade pearl earrings!
From charm bracelets to pearl earrings, here are five DIY jewelry pieces that are actually worth showing off!

Worthy Staff

Worthy Staff


The Worthy Blog is a place for inspiration, insight, and advice for all things surrounding life's greatest transitions - divorce, losing a loved one, retirement, and so much more. You can find us on our blog, Instagram, and Facebook.


©2011-2024 Worthy, Inc. All rights reserved.
Worthy, Inc. operates from 25 West 45th St., 2nd Floor, New York, NY 10036